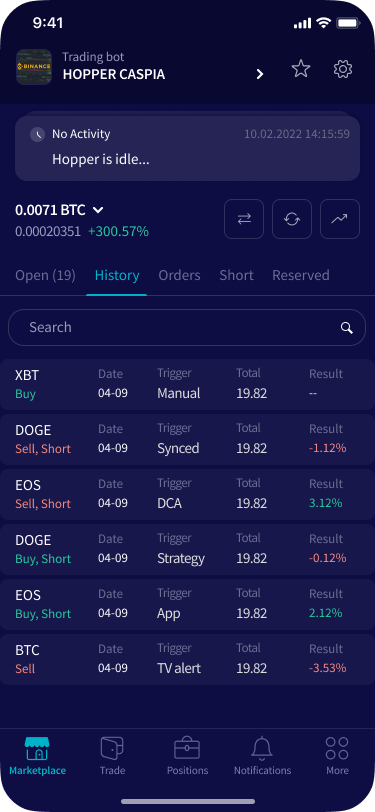
How to set up a Paper Trading bot
This tutorial shows you how to set up a Paper Trading bot.
Prerequisites
Before you begin, please ensure the following:
- You have a Cryptohopper account.
- You have an Explorer, Adventurer, or Hero subscription from Cryptohopper.
- You understand the difference between Paper Trading and trading with real money. If not, please read this article first.
Set up a Paper Trading bot
- Click on the "My bots" section in the top left of your menu.
- Click on "View all."
- Click on "+ New" in the top right section.
- Select "Trading bot."
- Choose the desired template.
- Click on "Select" for the chosen template.
- Toggle the "Paper trading" switch.
- Enable your bot by toggling the switch.
- Click "Save."
- A new bot will be created.
- You will be directed to a screen where you need to deposit a starting balance.
- Specify the amount you want to deposit.
- Click "Deposit."
- Click "Configuration."
- Click "Baseconfig."
- Review your settings and make adjustments if necessary.
- Fill in the fields under "Basic settings."
- Fill in the fields under "Exchange."
- Fill in the fields under "Notifications." (Optional)
- Fill in the fields under "Buy settings."
- Fill in the fields under "Coins and amounts."
- Fill in the fields under "Strategy."
- Fill in the fields under "Trailing Stop-Buy." (Optional)
- Fill in the fields under "Sell settings."
- Fill in the fields under "Sell strategy."
- Fill in the fields under "Stop-Loss." (Optional)
- Fill in the fields under "Trailing Stop-Loss." (Optional)
- Fill in the fields under "Auto close." (Optional)
- Fill in the fields under "Shorting settings." (Optional)
- Fill in the fields under "Dollar Cost Averaging." (Optional)
- Click "Save."
Tip: Click on the question marks next to the settings for more information.

