How to set up a Signal
This guide shows you how to subscribe to a Signaler and configure it to work with your trading bot.
Prerequisites
- An Explorer, Adventurer, or Hero Cryptohopper subscription.
Steps
Subscribe to a Signaler
- Log in to your Cryptohopper account.
- Click "Marketplace".
- Click "Signals".
- Choose a Signaler. Not sure which one to pick? See how to select a Signaler ?
- Click on that Signaler.
- Click "Subscribe" or "Buy" and complete payment if required.
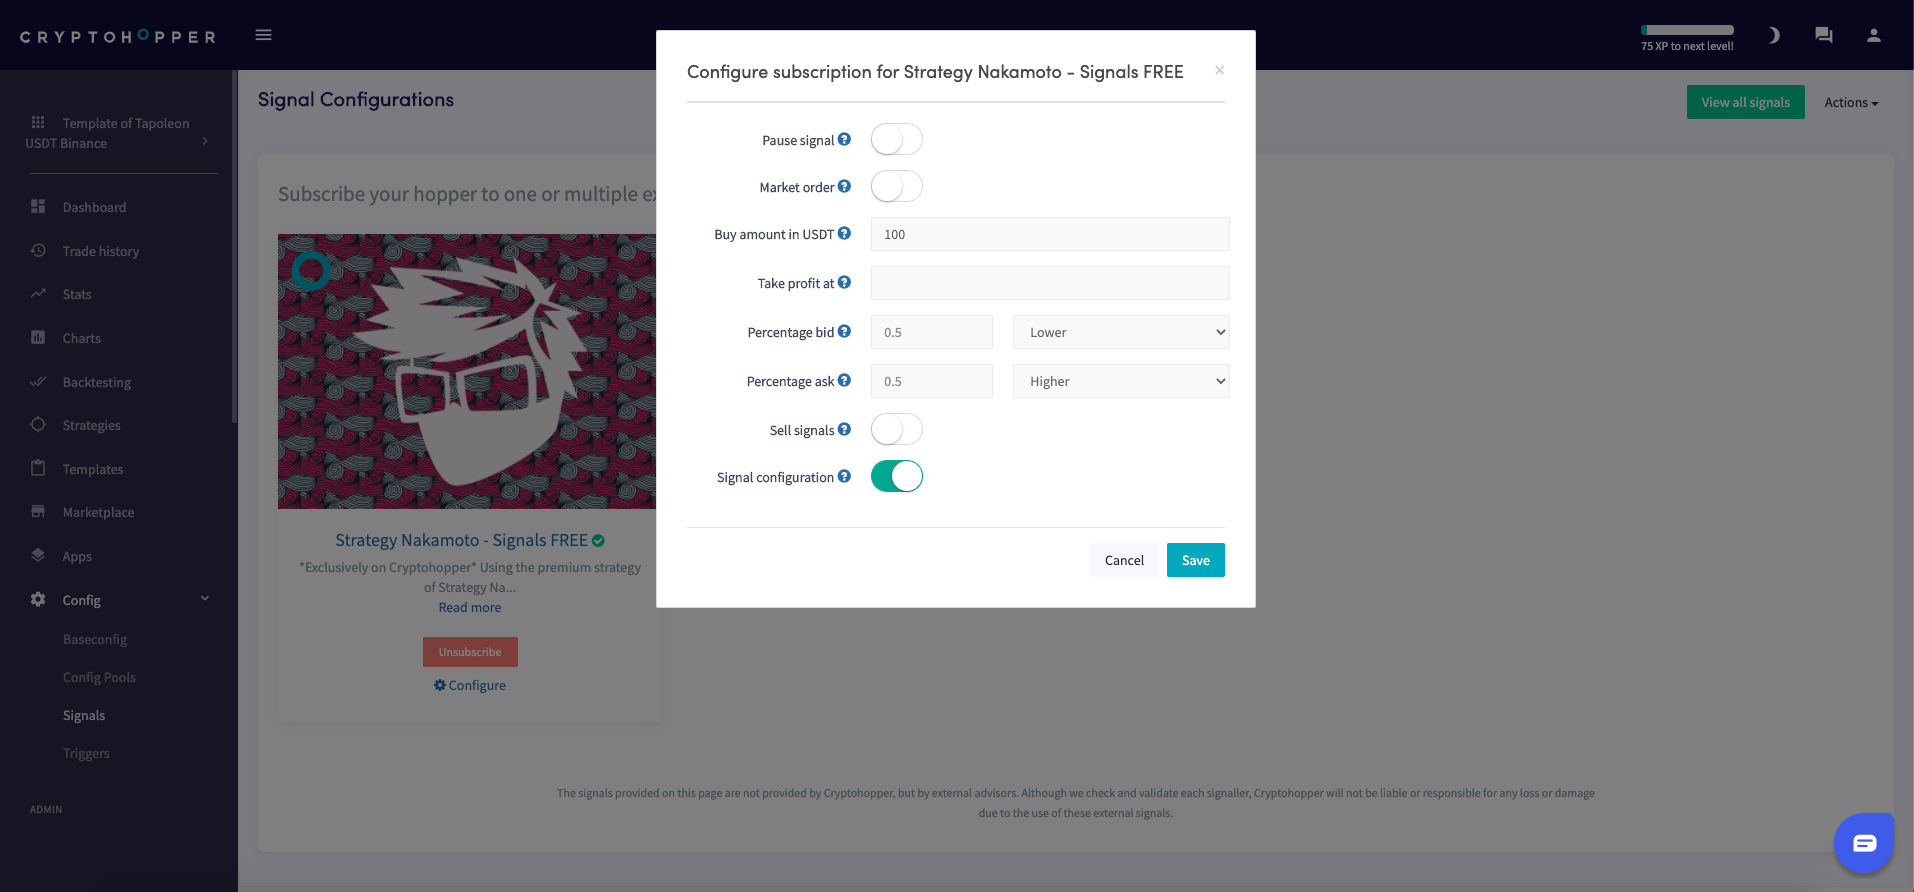
- Click "Configure".
- Configure the Signal settings. (Optional)
- Click "Save".
Add the Signal to your bot
- Click "My bots" and open the bot where you want to add the Signal.
- Click "Configuration" than "Baseconfig".
- Select the currencies you want to trade. Review the Signaler's performance report to confirm that signals were sent for your quote currency, your selected currencies under "Coins and amounts", and the exchange you are using.
- Click "Strategy".
- Only switch the "Signals only" toggle if you want to rely on signals exclusively. If you do, also fill in "Number of targets to buy". Otherwise, leave it off.
- Click "Save".
ヒント
If you use Triggers to load different templates, you must subscribe to the Signaler in both templates — signals will not be received when your bot switches to a template that doesn't have the subscription. See Signal config settings for more detail.